Lost Sea
Lost Sea Map
Connecting Planes
Gloom Peaks exit only
Chasm of Souls exit only
Lower Ossuary of Dread exit only
Albino Caves exit only
Plane History
The Lake and Sea
by Sadara Aug 18, 2020
So... many interesting things happened last night on 8/13. The Order of Harmony with our first attempt at getting rid of the Revenants on the Barrows, came along with several other interesting things that led us to the Lost Sea. It all began on the Barrows, Anyasha had this plan of reversing the Revenants on the Barrows with the help of the Order of Harmony and several dreamers that also came to aid in such. We all gathered on the Lake of Tears, and attempted a energy reversal with a main Chaos Well, several Revenant Essences, and lots of cleansing! We began to attune the essences to the Chaos Well, in an attempt to gather the Revenant essences by itself. Therefore causing a reaction that could cause an energy singularity, removing all the dark energies from the Barrows and returning the Revenants back to lesser mares.
Within moments of attuning the Chaos Well began to get overpowered with the dark energies and began to get volatile, the Revenant essences that were supposed to get placed into the Chaos Well sank into the ground. The energy overload was contained after we all began to set down Cleansed Wells around the main well. After which we began to try to regather the Revenant energy that had buried into the ground back into the Chaos Well. A group had ran underneath the lake to push the said energy back up. Up above we began to drain slowly the left over energy from the main Chaos Well out. The other cleansed essences also served as containers for the essence energies.
The Chaos Well seemed to be filled with the proper energies... however we also got an unexpected guest. The Revenant herself appeared as a soulsphere and tried to drain the energies from the Chaos Well... however instead the Chaos Well collapsed the Cleansed Wells that were around it. It was speculated that the Revenant was captured within the Chaos Well. From there however there was a very interesting jolt of lighting that came from the Barrows and the Lost Sea! After which Kanto appeared bloodied and staring into space. Alina also appeared as well as the Revenant no longer in a soulsphere. They all three began to appear one at a time in quick succession in the same spot. One disappearing and then one appearing.
We all decided to travel to the Lost Sea and went straight to the Broken Bridge, to open the Temple area. When we arrived the Broken Bridge portal was opened. From there we attempted to open the portal to the Temple, the statues that were there moved for us... the Well that we had in hand in fact opened the portal to the room as well... things seemed to be going smoothly and we learned a lot once inside.
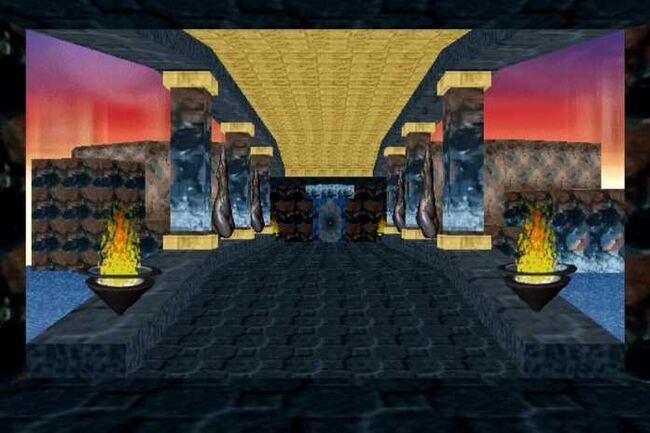
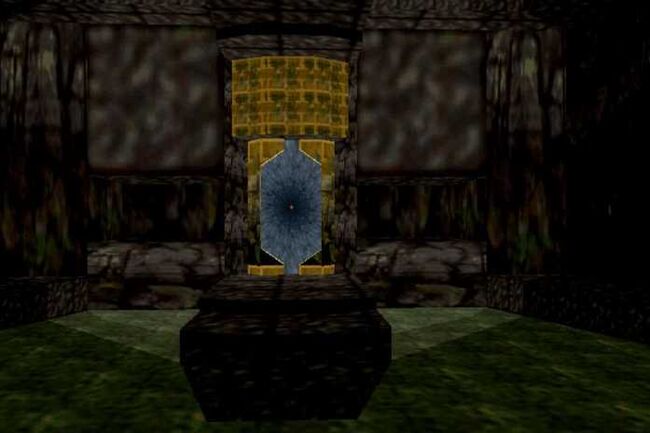
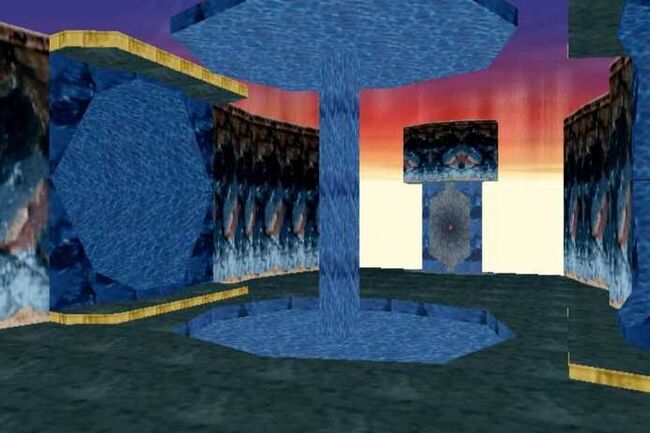
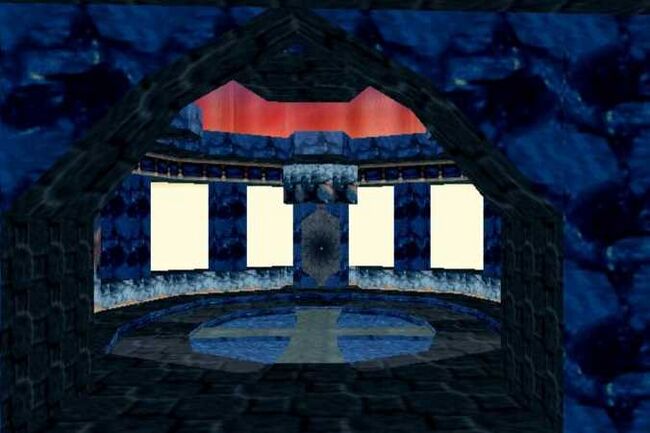
Once inside we saw that the Ancient Temple was a sort of... House. A Gathering Hall was blocking our entrance to the next room. However the room that were in was interesting enough, as on the facade was a portal to the Dark Awakening. Off the side and blocked off by an invisible barrier possibly only accessible by flight. From there we opened the Gathering Hall just the same as the first room, inside was a Shamblix that greeted us. We all dispatched of the Shambilx, however we began to hear whispers such as, "They're here right now!, "They have your crest."
So we all left quickly and just as quick as we entered, the portal closed.
It was a very interesting night and ordeal for the Order and everyone that was involved. We hope to continue to explore the house in the Lost Sea and cleanse what is needed. -{S}
Gallery
